A hardware wallet, just as its name suggests, is an actual physical Bitcoin wallet where the private key is stored in the device.
Because the wallet is disconnected from the Internet it is secure from any hacks and malware/viruses.
Hence, storing your coins in a hardware wallet in offline or cold storage is highly recommended.
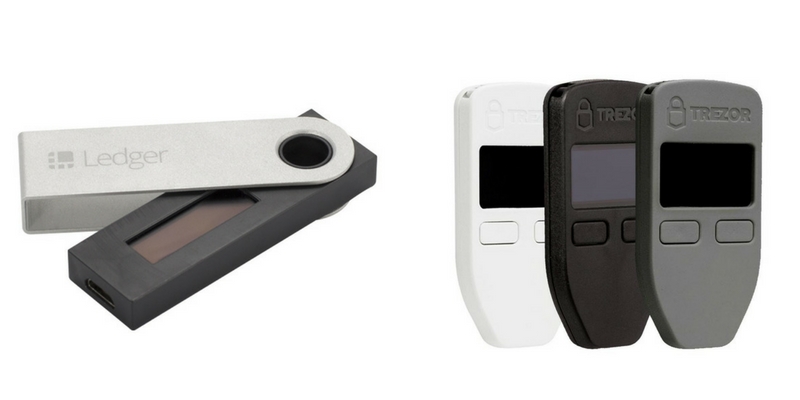
Two popular hardware wallets that are commonly used are the Trezor One, or the recently released version, the Trezor Model T, and the Ledger Nano S.
Trezor One/Model T
Trezor is a web-wallet interface created by SatoshiLabs, an early Bitcoin company in Prague, Europe. It is considered the world’s first Bitcoin hard wallet which was created in 2013. There are a long list of coins and tokens supported, including ERC20 tokens, the extensive list is available here.
The wallet currently has two versions, the entry-level Trezor One and the more expensive next-generation digital vault, Trezor Model T. The One comes in either black or white and the Model T only comes in black.
Box Contents
Trezor One
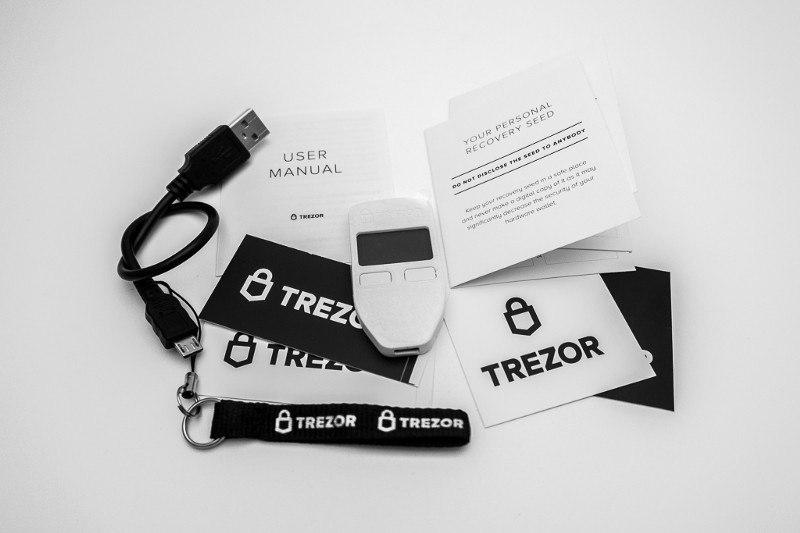
- Your new TREZOR device
- USB cable for your TREZOR
- Two books for the recovery seed
- Lanyard
- User manual
- 4 stickers with the company logo

Model T
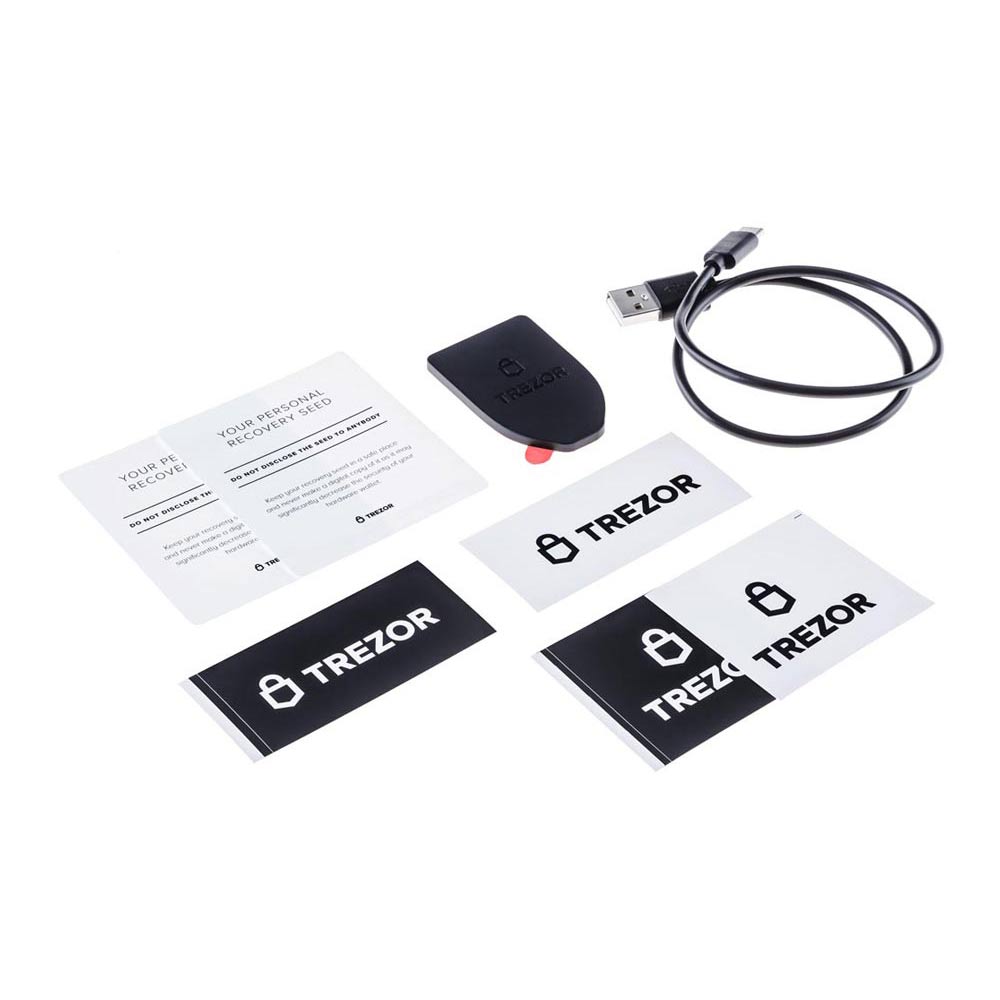
- The Trezor Model T Device
- Quick Start Guide
- Magnetic Holder (Dock)
- Accessories Box Including USB-C cable and, 2 recovery seed cards
- 4 sticks with the company logo

Set up
Plug the Trezor into the computer using the USB cable. When the screen comes on it will prompt you to go to trezor.io/start. If your firmware is outdated a message will appear asking you to Install new firmware? Proceed by clicking continue. It will then asks you to confirm that the firmware fingerprint on the computer screen is the same as the on the device, proceed only if it matches.
The device will show that the update has been successful. Now go ahead and unplug the device and then put it back into the USB port.
You will then need to label your Trezor, give it a name. Next, enter a pin by clicking on each box that corresponds to the number on the Trezor screen, noting the location of each number. Choose a 6-digit pin and you should make it hard to guess so that if somebody finds your Trezor your tokens won’t just be a birthday date away from being stolen.
Once you have a chosen pin you will need to re-enter it to confirm it. Note that the location of the numbers are rearranged, this will also be the case every time you plug the Trezor in so pay close attention to where each number is.
Writing down the recovery seed is the next step. The recovery seed will be needed in the future if you lose your Trezor and need to restore access to your funds.
Make sure you write each of the 24-word on the accompanying booklet as you go along. Pay close attention to the sequence in which the word appears and writing it down in the same exact order. There are two booklets so you do have the option of keeping two copies of the seed. But please make sure to keep them in separate locations so that if something bad happens like a fire it won’t destroy both copies.
Also, don’t ever make a digital copy of the seed and put it in Evernote or on your desktop or your phone or even take a photo of it. These are all vulnerabilities and anything digital has a possibility of getting hacked. You don’t want anybody with access to your phone or desktop gain access to your funds.
After you write down all 24 words the device will go through each word again, make sure you have written down all the words correctly in the exact order. It is never a bad idea to double check your work.
Thats it, just unplug the device and you’re done! Congratulations, your Trezor wallet is now ready for use.
Ledger Nano S
This popular wallet sold over 1,000,000 units since it was released in June 2016. Its easy-to-use interface and sleek display screen make it very intuitive and all the functions of the wallet can be performed with just two buttons, a simple smart design.
If you don’t want to stick with the run-of-the-mill black Ledger Nano S there are a variety of colors you can choose from. Ledger also has limited edition versions that are only available during special events, the last one being the 10-year anniversary of Bitcoin.
Box Contents
1 USB hardware wallet, 1 USB cable
Dimension & weight
Size: 98mm x 18mm x 9mm.
Weight: 16.2g.
Materials
Brushed stainless steel and plastic.
No battery required.
Microcontrollers & connector
Connector: USB Type Micro-B.
Certification level: CC EAL5+.
Chips: ST31H320 (secure) + STM32F042.
Compatibility
Windows (7+), Mac (10.8+), Linux. Requires one USB port to plug your Ledger Nano S.

Set Up
Plug in the USB cable to the Ledger Nano S on one end and to your computer on the other end. This will power up the device.
Once the screen turns on you will be given be able to maneuver to different menus by pushing the right button to move right or choose a right option and the left button to move left or choose a left option. You can make a selection by pressing both buttons down at the same time.
Once you “Configure as new device?” it will prompt you to enter a 4-digit pin or passcode. Make sure you choose a random pin and not make it an easily guessable number (eg. birthday or address). This pin will be needed every time you try to access the wallet going forward.
Next, confirm your pin by entering it again.
Make sure you have a piece of paper handy for this next step or use the recovery card that comes in the box. You will now need to write down the 24-word recovery phrase, in the same order that it is presented, which will be used in the unfortunate scenario you misplaced the wallet and need to restore access to your coins. It serves as a backup and as so should be kept separate and away from the device and put away in a safe place.
To confirm that you have written down the recovery phrase correctly you will need to re-enter the word corresponding to the number that appears on the screen, a few times.
Once this is completed your device is fully configured and is now ready for use. The next step would be to download and install Ledger Live.
Ledger Live is a companion app to the Nano S that will allow you to manage your devices, cryptocurrencies, and provide a snapshot of your portfolio all in one place. You can also install other cryptocurrency apps to integrate with the Nano S through this platform.


